
How to Install All in One Solar Street Light? Video Included
Solar street lights are becoming an increasingly popular choice for outdoor lighting solutions. They offer an eco-friendly, cost-effective, and low-maintenance option for illuminating streets, parking lots, parks, and other public areas. Among the various types of solar street lights, the all in one solar street light stands out due to its integrated design, which combines all the necessary components into a single unit. In this guide, we will walk you through the steps to install an all in one solar street light.
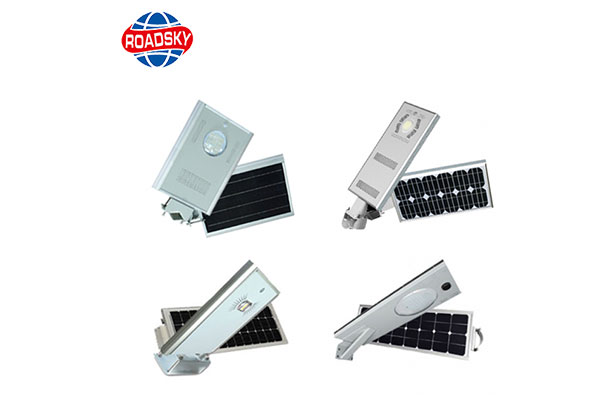
What is an All in One Solar Street Light?
An all in one solar street light integrates the solar panel, LED light, battery, and controller into a compact and easy-to-install unit. This design simplifies the installation process and reduces the need for maintenance. These lights are designed to provide reliable lighting with minimal environmental impact and can be installed in a variety of locations without the need for complex wiring or power sources.
Tools and Materials Needed
Before you begin the installation, gather the following tools and materials:
- All in One Solar Street Light unit
- Mounting pole or bracket
- Bolts and screws
- Wrench or socket set
- Screwdriver
- Ladder or lift (depending on the height of the installation)
- Personal Protective Equipment (gloves, helmet, safety glasses)
Step-by-Step Installation Guide
Step 1: Choose the Installation Location
Select a location that receives ample sunlight throughout the day, as the solar panel needs direct sunlight to charge the battery effectively. Ensure the area is free from obstructions like trees or buildings that could cast shadows on the solar panel.
Step 2: Prepare the Mounting Pole or Bracket
If you are using a new mounting pole, ensure it is securely fixed in the ground. The pole should be sturdy enough to support the weight of the solar street light. For wall-mounted installations, attach the mounting bracket to a stable surface using the appropriate bolts and screws.
Step 3: Attach the Solar Street Light to the Pole or Bracket
Carefully lift the all in one solar street light and align it with the mounting pole or bracket. Secure the light to the pole or bracket using the provided bolts and screws. Use a wrench or socket set to tighten the bolts, ensuring the light is firmly attached.
Step 4: Adjust the Angle of the Solar Panel
To maximize the efficiency of the solar panel, adjust its angle to face the sun. Most all in one solar street lights come with an adjustable bracket for the solar panel. Use a level to ensure the panel is positioned at the correct angle and tighten the adjustment bolts to lock it in place.
Step 5: Check the Light’s Operation
Once the light is installed, check its operation by covering the solar panel to simulate nighttime conditions. The LED light should turn on automatically. If it does not, refer to the manufacturer’s instructions for troubleshooting tips.
Step 6: Final Inspection
Perform a final inspection to ensure all bolts and screws are tight and the light is securely mounted. Check the alignment of the solar panel and make any necessary adjustments.
Conclusion
Installing an all in one solar street light is a straightforward process that can be completed with basic tools and a little effort. By following the steps outlined in this guide, you can ensure a successful installation and enjoy the benefits of eco-friendly and efficient outdoor lighting. Whether for public spaces, private properties, or remote areas, these solar street lights offer a sustainable solution for your lighting needs.
For further information or specific product details, you can contact us directly.