

Corner Guard Installation: A Practical Guide
Wall corners are some of the most vulnerable areas in a building. They are easily damaged by carts, furniture, equipment, foot traffic, and everyday impacts. Once a corner starts to chip or crack, the damage can quickly become more noticeable—and more expensive to repair.
That’s where a corner guard comes in.
Whether you are working on a commercial building, warehouse, hospital, school, hotel, or residential project, proper corner guard installation can help protect wall edges while giving the space a clean, finished appearance.
In this guide, we’ll walk through the basic installation process, and share some practical tips to get better results.
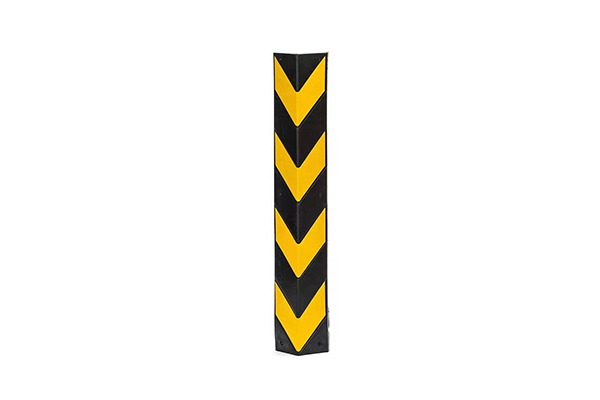
What is a Corner Guard?
A corner guard is a protective product designed to cover and reinforce exposed wall corners. It acts as a barrier between the wall edge and potential impacts.
Corner guards are available in several materials, including:
- Stainless steel
- Aluminum
- PVC and vinyl
- Rubber
- Plastic
- Fiberglass
- Other impact-resistant materials
The right option depends on where the corner guard will be installed and the level of protection required.
For example, a warehouse may need a heavy-duty corner guard that can withstand repeated impacts from carts or equipment, while a hotel may prioritize appearance as well as protection.
Why Is Proper Corner Guard Installation Important?
Buying a durable corner guard is only part of the job. Even a high-quality product can perform poorly if it is installed incorrectly.
Proper installation helps ensure that the guard:
- Stays securely attached to the wall
- Covers the vulnerable corner effectively
- Resists impact and movement
- Maintains a neat appearance
- Provides long-term protection
- Reduces the need for frequent wall repairs
An improperly installed corner guard may loosen, shift, or leave gaps that reduce its protective performance.
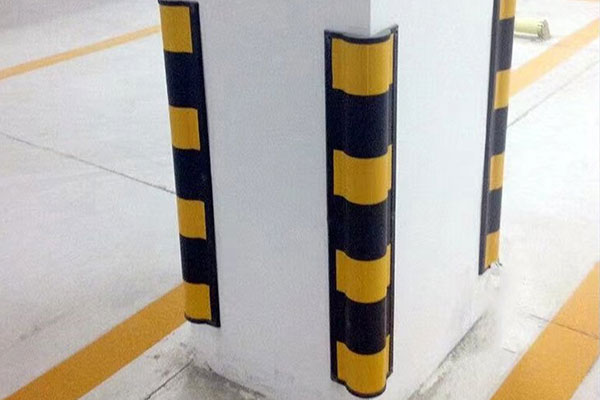
Corner Guard Installation Steps
Step 1: Measure the Wall Corner
Start by measuring the height of the area you want to protect.
If the corner guard does not extend from floor to ceiling, determine the exact installation height and mark the top and bottom positions.
It’s also important to check the width of both wall faces. A corner guard should sit properly over the corner without leaving large exposed areas.
Tip: Measure twice before cutting or drilling. A few minutes of preparation can prevent unnecessary material waste.
Step 2: Inspect the Corner
Before installing the guard, inspect the wall corner carefully.
Look for:
- Cracks
- Loose paint
- Dust
- Grease
- Moisture
- Uneven surfaces
- Existing damage
A corner guard works best when installed on a stable and reasonably smooth surface.
If the corner is badly damaged, repair it before installation. Loose material underneath the guard can prevent proper adhesion or fastening.
Step 3: Clean the Surface
Cleaning is one of the easiest steps to overlook, but it can make a big difference.
Remove dust, dirt, grease, and other contaminants from both sides of the corner. Allow the surface to dry completely before applying adhesive.
For adhesive-mounted corner guards, a clean and dry surface is especially important because contaminants can reduce bonding strength.
Step 4: Position the Corner Guard
Place the corner guard against the wall without permanently attaching it.
Check that:
- The guard is centered over the corner
- Both sides sit flush against the wall
- The height is correct
- The guard is vertically aligned
- There are no obvious gaps
Using a level can help you achieve a straight installation.
This is also the best time to make adjustments. Once adhesive or fasteners are installed, repositioning the guard can become much more difficult.
Step 5: Apply Adhesive or Install Fasteners
The installation method depends on the type of corner guard.
1. Adhesive Installation
For adhesive-mounted corner guards, apply the recommended adhesive according to the manufacturer’s instructions.
Avoid applying excessive adhesive. Too much can squeeze out around the edges and create a messy finish.
Press the corner guard firmly against the wall and hold it in position for the recommended amount of time.
Some products may also require temporary support while the adhesive cures.
2. Screw or Fastener Installation
For mechanically fastened corner guards, mark the recommended mounting points and drill the necessary holes.
Depending on the wall construction, you may need suitable anchors.
Insert the screws and tighten them securely, but avoid overtightening. Excessive force can damage the guard or the wall surface.
Step 6: Check the Installation
Once the corner guard is attached, inspect the entire installation.
Make sure it is:
- Straight
- Secure
- Properly aligned
- Firmly attached
- Free from excessive adhesive
- Fully covering the intended corner area
Apply gentle pressure to different sections of the guard to check for movement.
If the guard shifts or separates from the wall, address the problem before the installation is considered complete.
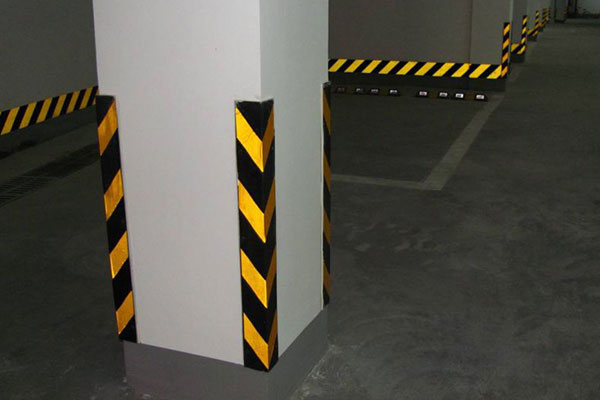
Common Corner Guard Installation Mistakes
Even a relatively simple installation can go wrong. Here are some common mistakes to avoid.
1. Installing on a Dirty Surface
Dust and grease can weaken adhesive bonding. Always clean the surface before installation.
2. Skipping Measurements
Installing a guard without carefully measuring the corner can result in poor alignment or insufficient coverage.
3. Using the Wrong Adhesive
Not every adhesive works with every wall surface or corner guard material. Use the adhesive recommended by the manufacturer.
4. Ignoring Wall Condition
A corner guard cannot compensate for a severely damaged or unstable wall. Repair major damage first.
5. Overtightening Screws
More pressure does not necessarily mean better protection. Overtightening can damage the guard, fasteners, or wall.
6. Removing Temporary Support Too Early
If the adhesive requires curing time, don’t assume the guard is ready simply because it feels attached. Follow the manufacturer’s recommended curing period.
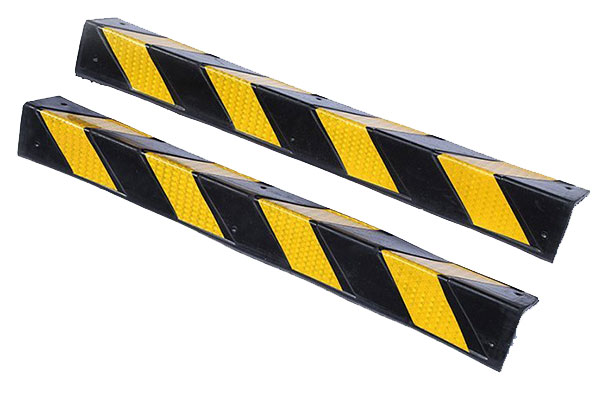
Choosing the Right Corner Guard
Before starting your project, consider the environment where the corner guard will be used.
For High-Traffic Areas
Hospitals, schools, warehouses, and commercial buildings may require heavy-duty impact protection. Strong metal, rubber, or reinforced corner guards can be suitable choices depending on the application.
For Decorative Applications
Hotels, offices, retail stores, and residential projects may place greater emphasis on appearance. PVC, vinyl, aluminum, and stainless steel options can provide protection while maintaining a clean look.
For Industrial Environments
Industrial facilities often require corner guards that can withstand repeated impacts from carts, machinery, and material-handling equipment. In these situations, durability and secure mechanical installation may be particularly important.
How to Maintain Corner Guards After Installation
Corner guards generally require little maintenance, but regular inspection is still a good idea.
Check for:
- Cracks or dents
- Loose fasteners
- Adhesive failure
- Gaps between the guard and wall
- Surface corrosion
- Damage around the wall corner
If a corner guard has suffered significant impact damage, replacing it may be more practical than attempting to repair it.
Final Thoughts
Proper corner guard installation is essential for providing reliable protection to vulnerable wall corners. Before starting a large installation, it’s a good idea to test one guard first and make sure it stays firmly in place. Regular inspections are also recommended to identify loose screws, damaged guards, or weakening adhesive early.